Add Table
Adding a table in Winterface will create a corresponding Snowflake table and a history table to track changes over time.
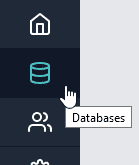
To get started, first go to the Databases screen by clicking on the Databases button
Add Schema
If it's your first time on this screen, you will see a blank Databases window and you will have to add a Schema first. You can think of Schemas as a folder to hold your tables.
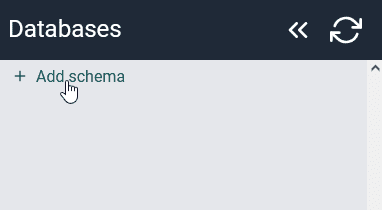
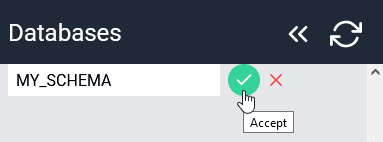
Click Add schema and type a name for the schema (must be one word and not contain spaces, although _ is ok). After typing your schema name, click the green check to save your schema.
Once the accept button is clicked, it will take a second to refresh and the new schema should appear on the screen.
Add Table
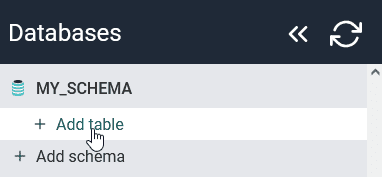
Now click on the schema you want to add a table to and click Add table under it.
The Add table dialog window will appear and you will have the choice to create a table from a file or define the table from scratch. In this article, we are going to focus on defining a table from scratch, see Upload File to learn more about uploading files.
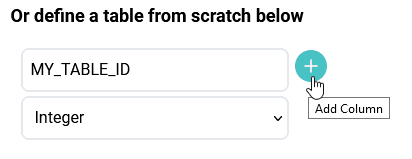
To start defining your table, just enter a name for your first column in the corresponding field and select a data type. Click the + sign when done.
Add Table Screen
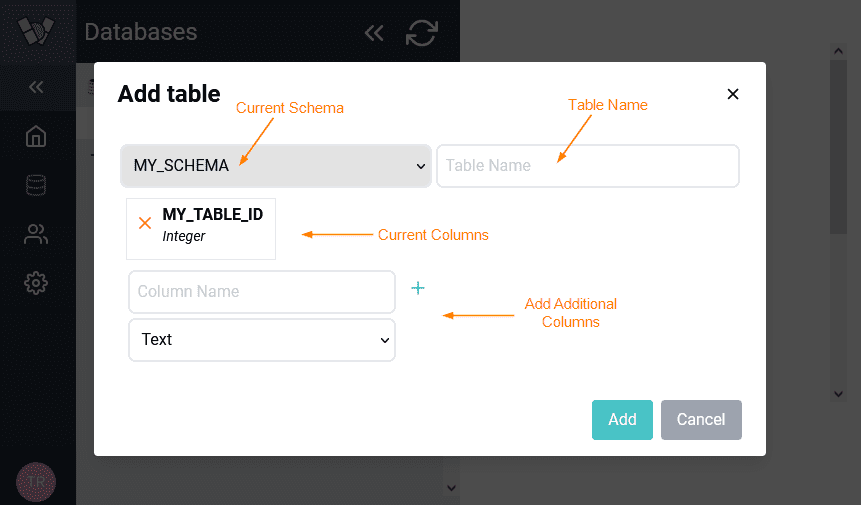
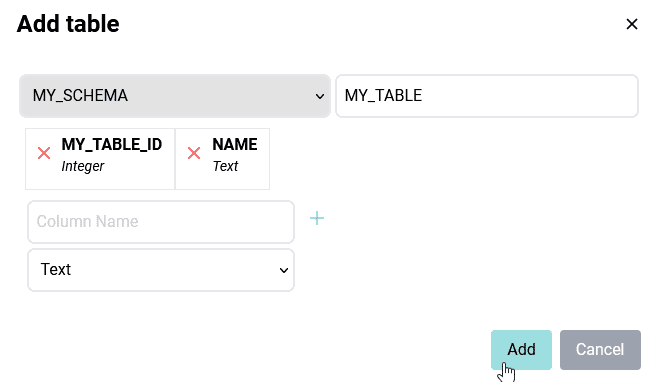
After adding your first column, the view will change, showing:
- the
Schemayour table will be added to - a field to enter your
Table Name - a list of
Current Columns - a field and a dropdown box to
Add Additional Columns
These sections are highlighted in orange in the image below.
Define Table Name
Next to the current schema, you will be able to type in a name for your new table. Just type in a name in this field to define the table name going forward.
Adding Additional Columns
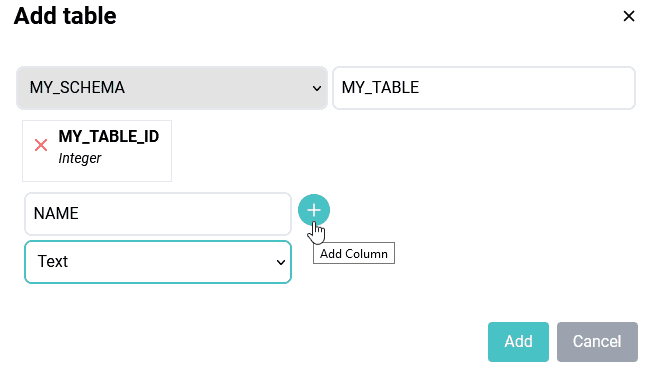
To add an additional column, follow the same steps as before and type in a new column name, choose the data type, and click the + button.
The new column will appear in the Current Columns list.
Deleting a Column
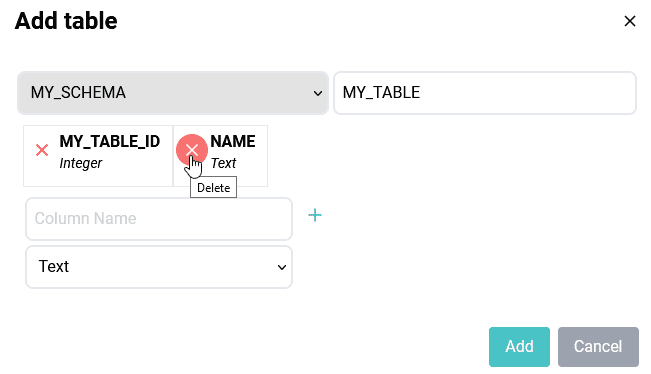
To delete a column, just hit the red X to the left of the column you want to remove.
Editing a Column
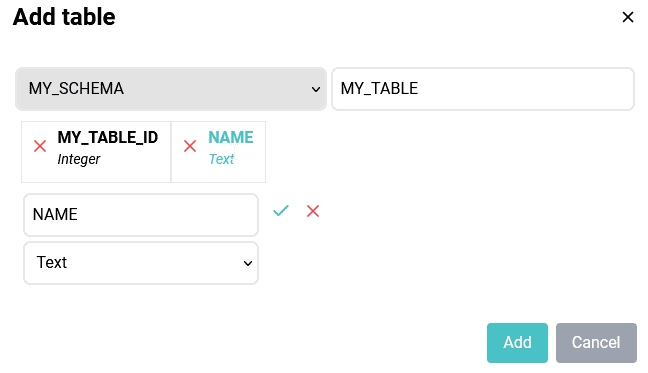
To edit a column, click on the name of the column you want to edit. The area that you used to Add Additional Columns will now update to allow you to edit the column you selected. Make any changes you wish and click the green check to continue. If you want to discard the changes, just click the red X instead.
Finalize the Table
If you are happy with your table design, just click the Add button.
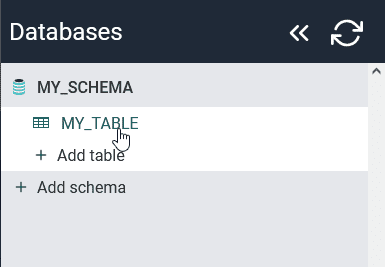
After a second, your table will appear under the schema you created it in. You can click on it to take a look at it.
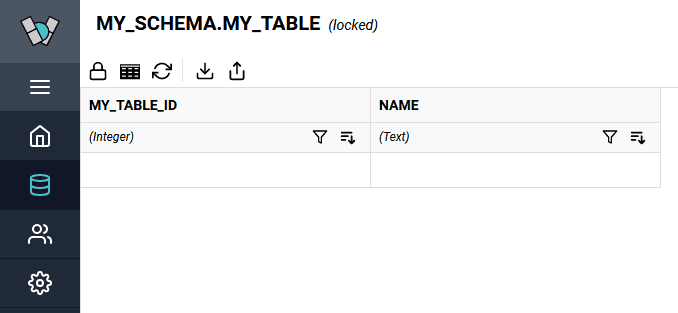
After clicking on your table, you can see the table with your columns pre-populated and now you are ready to Edit Data or Upload a File
