Upload File
Instructions on how to upload a file to Snowflake from Winterface
Supported File Types
The following file types are currently supported:
.csvfiles - Comma-separated files are the most reliable way to upload data. Winterface supports files both with and without quotations..tsv,.txtor other delimited files - for using any other delimited file (such as files delimited with tabs,|characters, etc.) Winterface will attempt to automatically detect the delimiter.
Support for Excel (.xls or .xlsx) and JSON files are not currently supported, but are coming soon.
Upload to New Table
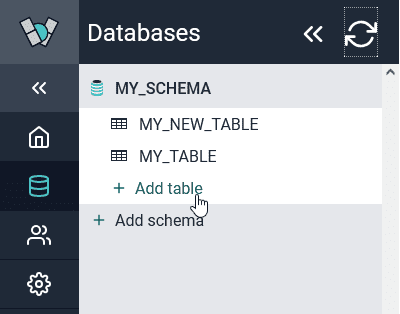
To create a new table from a supported file, simply go to the Add Table screen as shown in the Add Table article.
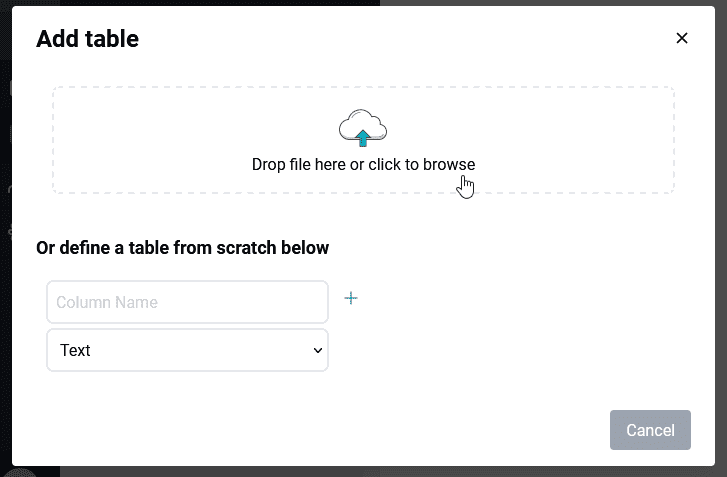
In the Add Table pop-up, click on the upload button or drag the file you want to upload into the section within the dotted line.
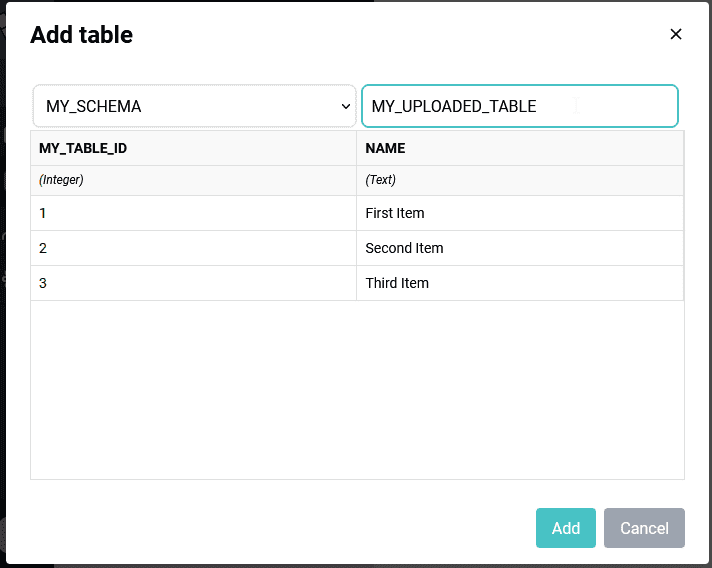
When you choose the file, Winterface will show a preview of the data with automatically determined column names and data types. If there is an issue with the file, an error will come up noting the line in the file where the error occurred.
After verifying that the column names and data types look correct, you can type in a Table Name, then click Add.
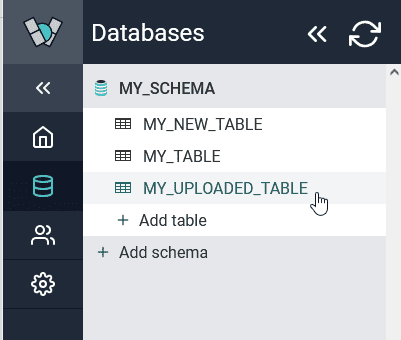
After a few seconds, the new table name will show up in the list of tables and you can interact with the table normally.
Upload File to Existing Table
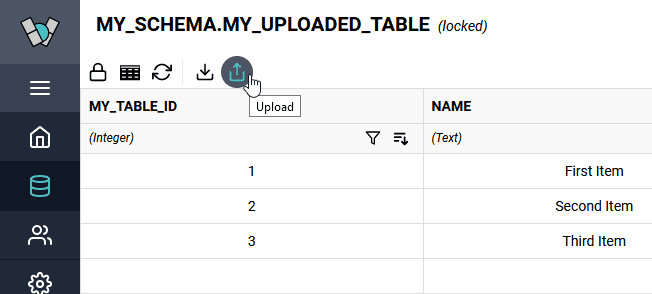
To upload a file to an existing table, first navigate to that table and then click on the Upload icon in the toolbar.
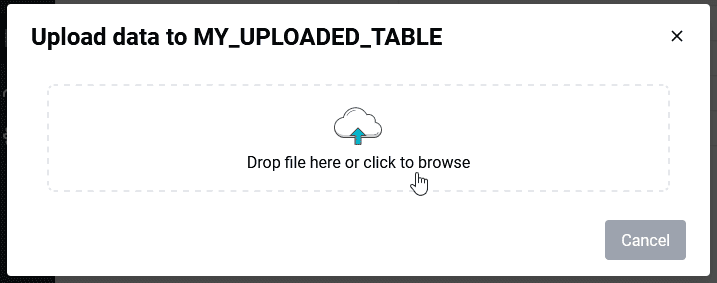
In the Upload window, within the dashed line click to browse your computer or drag the file you want to upload.
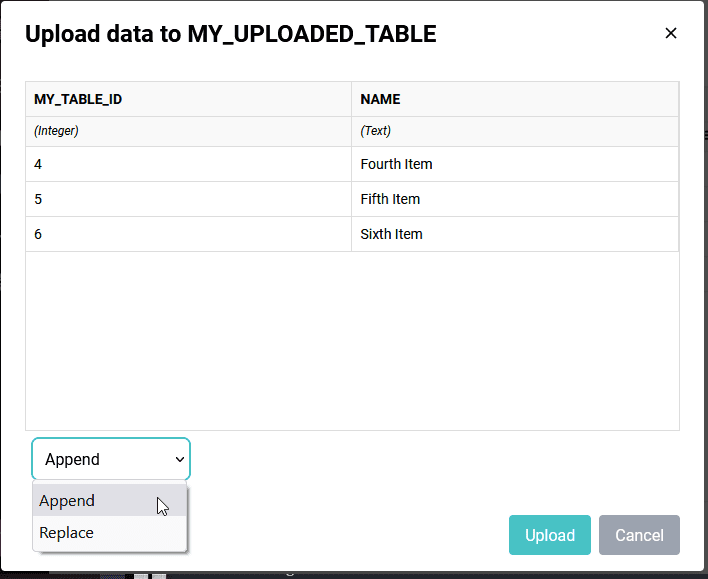
After the file is uploaded, you will be able to preview the data from the file. If there are any errors, they will show up in this window alongside the line number the issue is found (if relevant).
Now choose whether to Append to or Replace the existing data.
Append- will keep the existing data in the table, and add the additional records to the end.Replace- will delete all existing records and upload the new data instead.
In this case we chose Append and then clicked Upload.
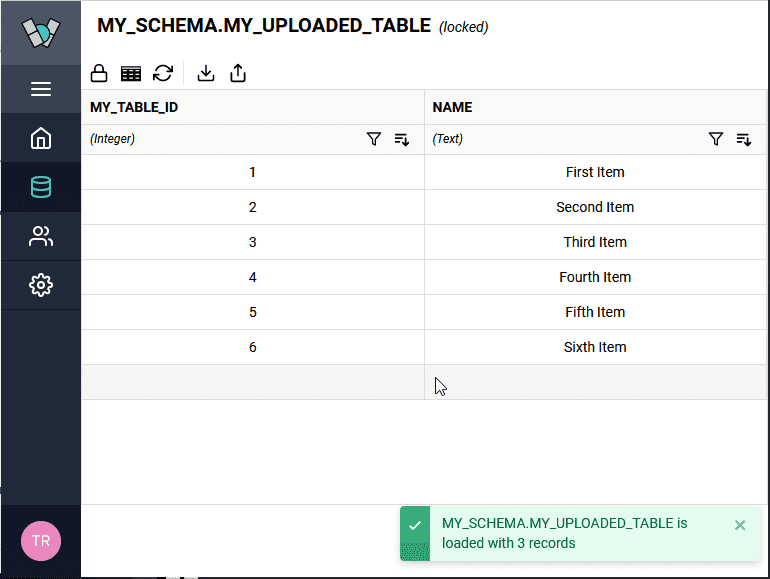
When the file upload is complete a pop-up will let you know how many records were uploaded and the data in the table will reflect the change.
