Modify Table
Once a table is created (see Add Table for more information), you can still modify it by adding new columns, modifying existing columns, or renaming the table.
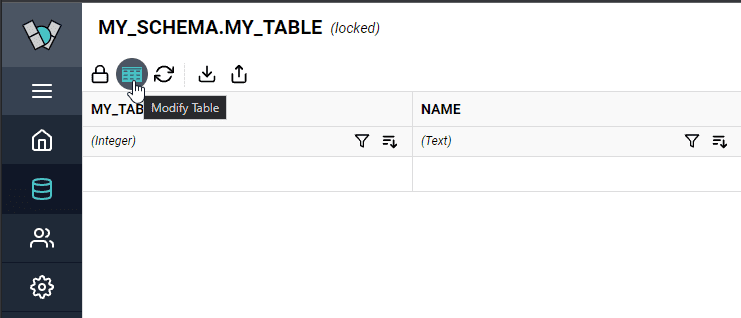
To perform any of these modifications, first click the "Modify Table" button as shown below.
Add Columns
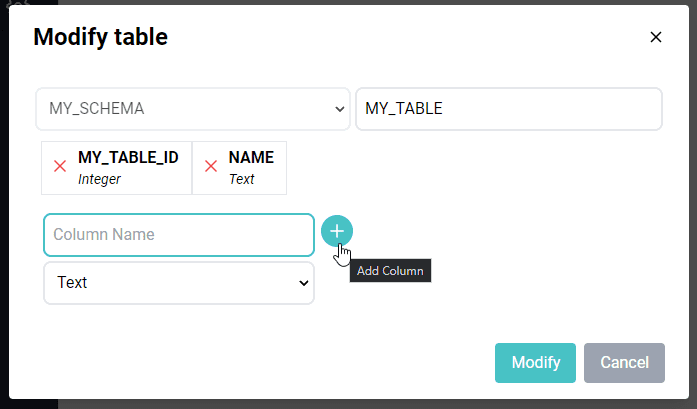
To add a column, navigate to the bottom section of the Modify Table screen, type in a column name, choose a data type, and then click the + symbol to add.
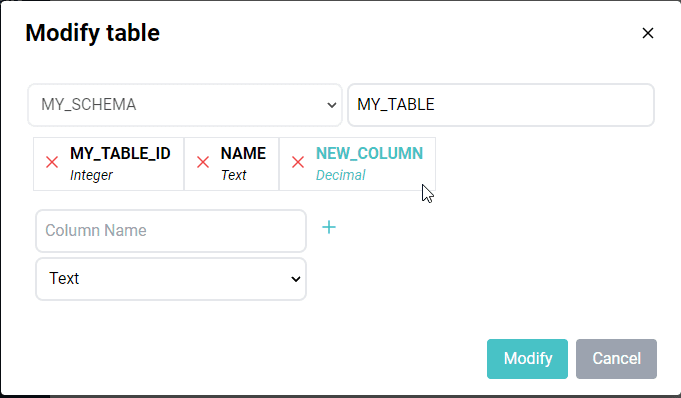
The newly added column will appear at the end of the list of columns.
Edit Columns
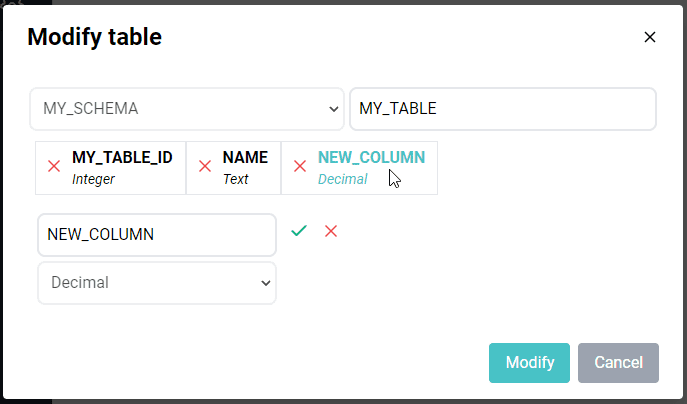
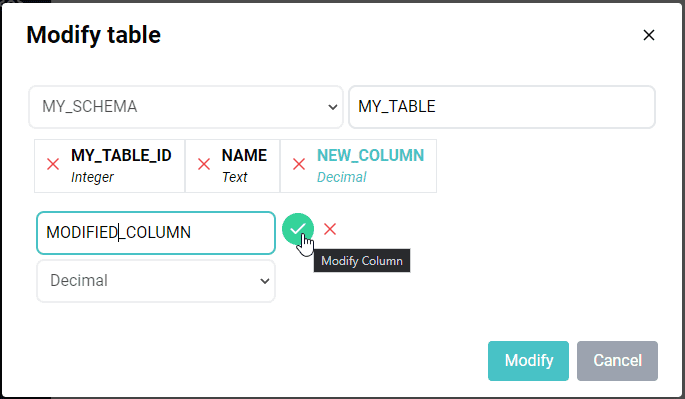
To edit an existing column, click on the column you want to edit. This will result in the name and data type appearing in the bottom section where you previously added a column.
You can then change the name of the column and choose either the checkmark to confirm, or the x to cancel.
Remove Existing Columns
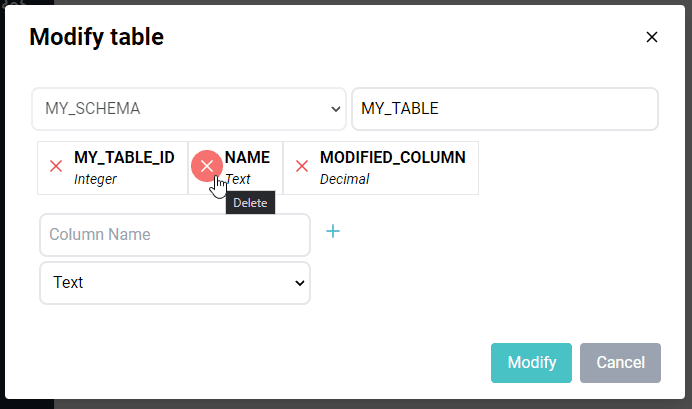
To delete a column from the table, click the x to the left of the column you wish to delete.
Rename Table
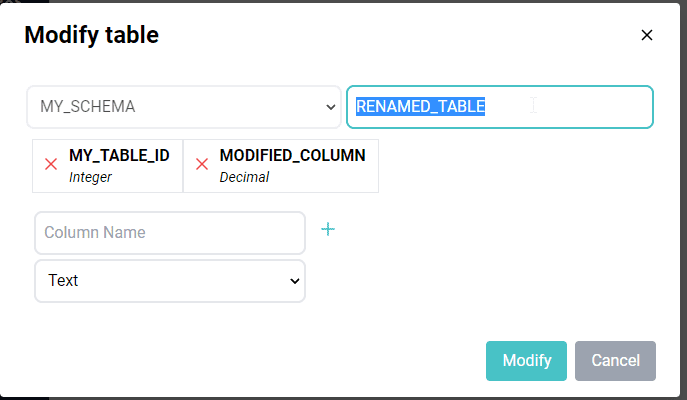
Finally to rename the table, just click in the field containing the table name and type a different name.
Note: renaming a table will change the URL to get to that table in the future.
Confirm Changes
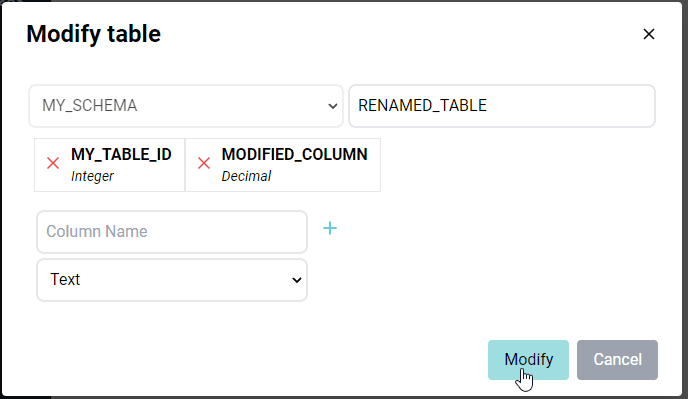
To save the changes in this menu, click the Modify button at the bottom of the screen.
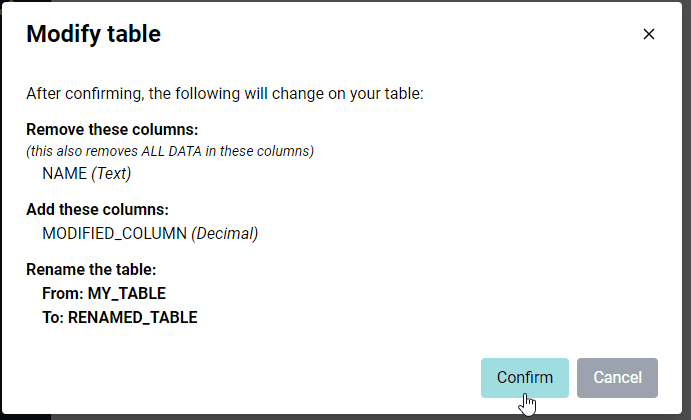
A list of changes will be presented for review. To confirm the changes, click the Confirm button.
