Edit Data
This section will first give an overview of the user interface and then
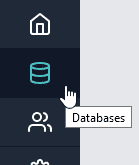
To get started, first go to the Databases screen by clicking on the Databases button
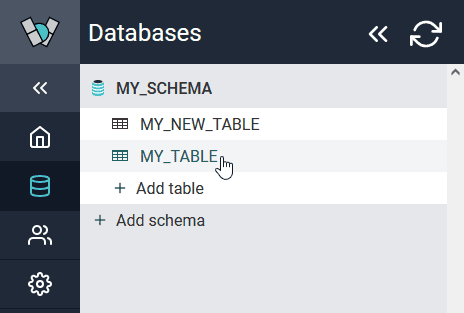
Then choose the table you want to edit
Locked State
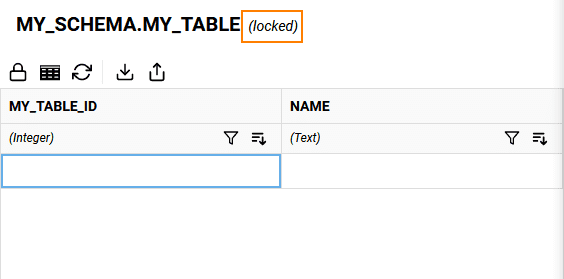
When you first open a table (and if no one else has previously unlocked the table), your table will start in a locked state. This will be shown next to the table name as highlighted in the image below. When the table is locked, you cannot edit the data, but you are able to modify columns or upload data from a file.
When the table is locked, these are the functions of the buttons in the toolbar (from left to right in the image above).
- Unlock - by clicking on the lock icon, you can unlock the table and begin editing the data
- Modify - change the table name, rename columns, delete columns, or add new columns. See Modify Table
- Refresh - this will update the local cached version of the data. This is useful if a system other than Winterface makes changes to the data (like a data engineering process).
- Download - will download a CSV version of the dataset
- Upload - will allow you to append or replace the data in the table from a CSV file. See Upload File for more information.
Editing State
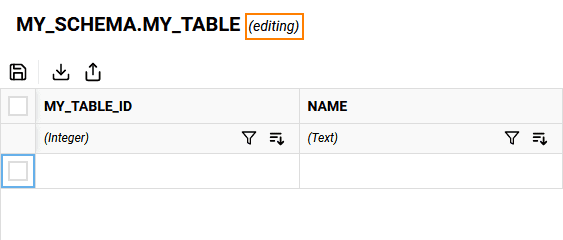
By clicking on the lock icon, you can unlock the table for editing. When the table is unlocked, it is reflected to all users instantly, allowing multiple users to collaborate on the table at the same time. Any changes made in this state are reflected on all users' view of the table.
Note: This does not apply any changes to Snowflake until the Save button is clicked.
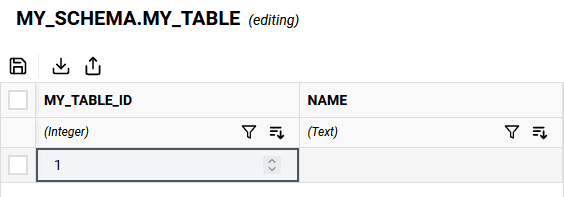
When the table is unlocked for editing and no records are selected, these are the functions of the buttons in the toolbar (from left to right in the image above).
- Save - this will commit all changes to Snowflake and lock the table for editing
- Download - will download a CSV version of the dataset
- Upload - will allow you to append or replace the data in the table from a CSV file. See Upload File for more information.
Editing State, Record Selected
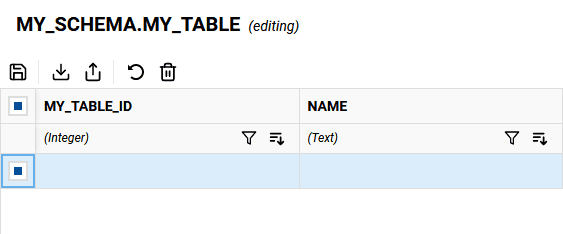
When you select one or more records using the checkbox on the left side of the table, a couple more options appear in the toolbar.
When the table is unlocked for editing and one or more records are selected, these are the functions of the buttons in the toolbar (from left to right in the image above).
- Save - this will commit all changes to Snowflake and lock the table for editing
- Download - will download a CSV version of the dataset
- Upload - will allow you to append or replace the data in the table from a CSV file. See Upload File for more information.
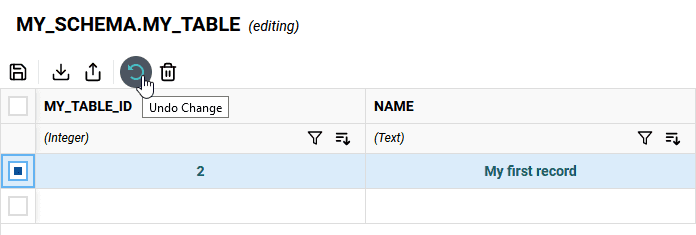
- Undo Change - will restore the selected record(s) back to its original state (a deleted record is restored, a new record will be removed, and an updated record will return to its original form)
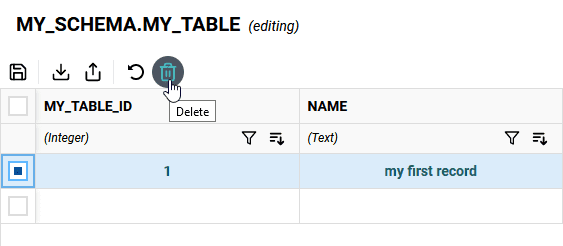
- Delete - will mark a record as "to be deleted", and will be deleted from Snowflake after a save.
Column Headers
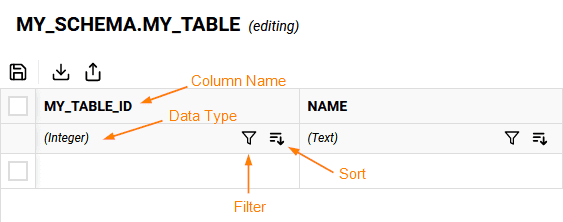
The columns of the table provide information on the column names, the data types of the columns, and offer filter & sort functionality. This is hightlighted in the image below.
- Column Name - the name of the column in the source Snowflake table (as defined earlier in Add Table)
- Data Type - the data type of the column: Integer, Decimal, Text, or Date (as defined earlier in Add Table)
- Filter Button - opens a window to filter data based on this column (see the Filtering section below)
- Sort Button - sorts records on this column (see the Sorting section below)
New Records
To add a new record, first make sure the table is unlocked for editing. At the bottom of the table is a blank row that you can edit. Once you add some content into this row, you've added your first new record. Any updated or new records will show up in bold and green.
A new blank row will be added to the end so you can add additional records.
Editing Records
To edit a record, first make sure the table is unlocked for editing. Next, double-click in the cell you want to edit and begin typing. When you're done, you can hit the Enter key or click anywhere outside of the cell.
When you edit a record, the entire record will show up in bold and green to distinguish it from non-edited records.
Deleting Records
To delete a record, first make sure the table is unlocked for editing. Next, click on the checkbox on the left side of the record you want to delete. Once your row is selected, click on the delete button in the toolbar. If you delete a record that you added as a part of this round of changes, it will remove the record. If it was a previously saved record, it will show up in red with a strikethrough.
Undo Changes
The Undo Change button allows you to restore records back to their original state prior to unlocking the table for editing. To undo the change, just select the record(s) you want to revert to its original form and click the undo button.
Below is what the Undo button does for each type of record:
- Newly Added Record - deletes the record from the table
- Edited Record - returns the record back to the original state prior to unlocking for editing
- Deleted Record - removes the mark to delete this record
- Unchanged Record - no impact
Sorting
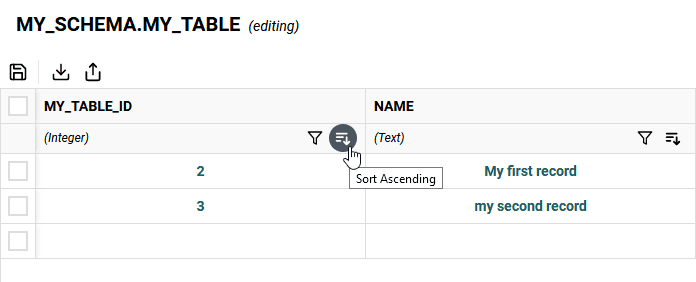
While interacting with the data, you may find it more convenient to have the data sorted in a particular fashion. You can quickly sort data by clicking on the sort button as shown below.
Clicking the sort button a second time for a column will sort the column in a descending manner. Clicking it a third time will cancel the sort. If you sort a different column, it will also clear the sort on all other columns.
Filtering
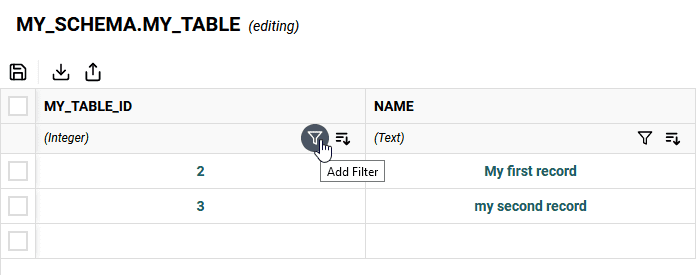
Filtering can help narrow down specific records you want to edit. To filter on a particular column, click on the filter button under the column name.
This will open a dialog window, where you can input a filter pattern. Instructions are provided for valid search patterns for each data type. To accept the filter click the green check box. To remove a filter or to cancel, click the red x instead.
